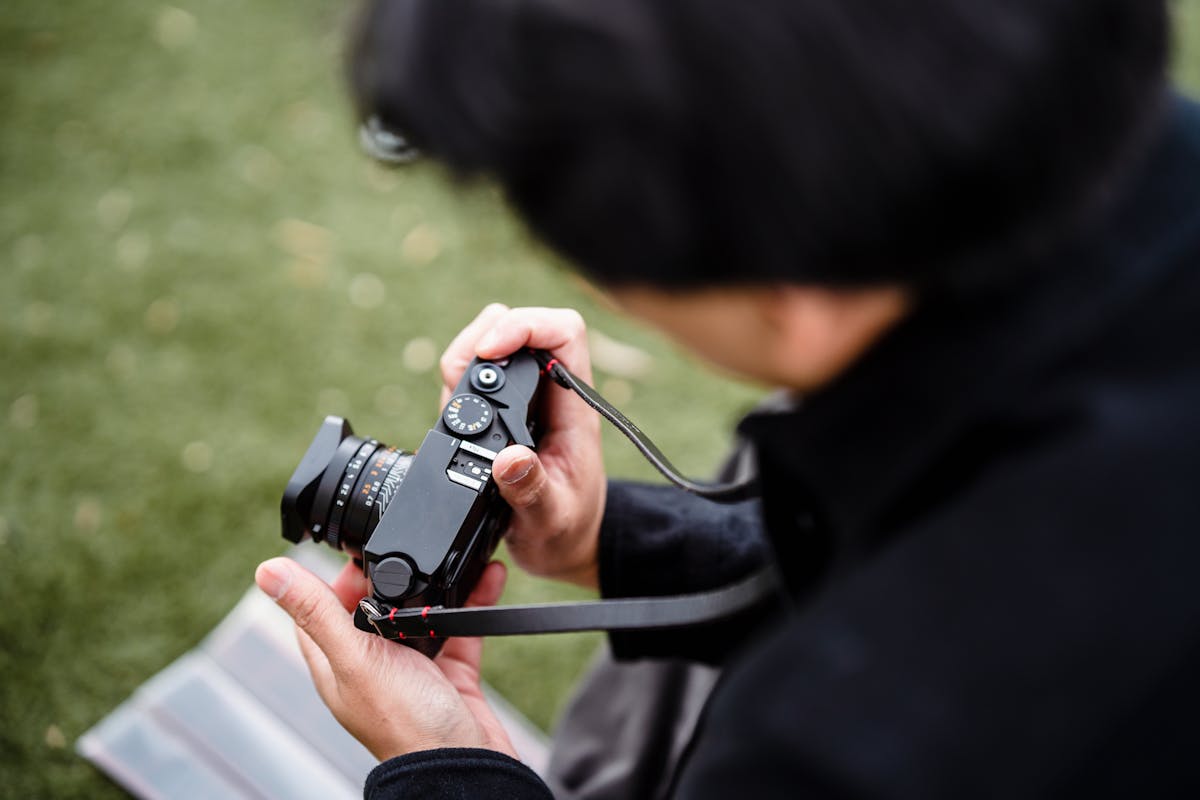
Mastering photography starts with understanding the three core components that make up the exposure triangle: ISO, shutter speed, and aperture. These three settings control how much light hits your camera sensor, and how that light is translated into the final image. Whether you’re shooting portraits, landscapes, action shots, or event photography, knowing how to balance ISO, shutter speed, and aperture gives you complete creative control.
For beginner and intermediate photographers, these terms may seem technical at first. But once you grasp how they interact, you’ll be able to shoot confidently in any lighting condition and unlock new artistic possibilities. In this guide, we’ll break each component down and explain how professionals use them to elevate their work.
ISO: Sensitivity to Light
ISO refers to your camera sensor’s sensitivity to light. The lower the ISO number, the less sensitive the sensor is. The higher the number, the more sensitive it becomes.
- Low ISO (100–400): Best for bright conditions like daylight. Produces cleaner, sharper images with minimal noise.
- Medium ISO (800–1600): Suitable for indoor lighting or cloudy days.
- High ISO (3200 and above): Used in low-light conditions, like concerts or nighttime shoots. But be aware—higher ISO often introduces digital noise.
Professional photographers aim to shoot at the lowest ISO possible for image quality, only increasing it when necessary to maintain a proper exposure. Modern cameras handle high ISO much better than older models, but noise reduction in post-processing can only go so far.
Shutter Speed: Freezing or Blurring Motion
Shutter speed determines how long the camera’s sensor is exposed to light. It’s measured in seconds or fractions of a second.
- Fast Shutter Speed (1/1000 or faster): Freezes motion—ideal for sports, wildlife, or any moving subjects.
- Moderate Shutter Speed (1/60 to 1/250): Great for handheld portraits or street photography.
- Slow Shutter Speed (1/30 or slower): Allows motion blur, perfect for long-exposure shots like flowing waterfalls or nighttime light trails.
A slower shutter speed means more light enters the camera, which is helpful in dark conditions. However, the risk of blur increases, especially if you’re shooting handheld. Using a tripod is recommended for long exposures. Professionals often blend fast and slow shutter speeds depending on the story they want to tell in the frame.
Aperture: Depth of Field and Light Control
Aperture is the size of the opening in the lens through which light enters. It’s measured in f-stops like f/1.8, f/2.8, f/5.6, and so on.
- Wide Aperture (f/1.2 – f/2.8): Lets in more light and creates a shallow depth of field. Great for portraits where you want a blurred background (bokeh).
- Mid-range Aperture (f/4 – f/8): Offers a balance between light and depth of field. Ideal for general photography.
- Narrow Aperture (f/11 – f/22): Lets in less light but increases depth of field. Useful for landscapes and scenes where you want everything in focus.
Professionals choose aperture based on both lighting conditions and creative intent. A wedding photographer, for example, might use f/2.0 to isolate a couple during a kiss, while a landscape photographer might use f/16 to keep mountains and foreground in sharp detail.
How These Three Work Together
Understanding how ISO, shutter speed, and aperture interact is essential for getting a proper exposure. If one setting is changed, at least one of the others must be adjusted to maintain the balance.
For example:
- If you increase the shutter speed to freeze motion, you may need to open up the aperture or raise the ISO to compensate for less light.
- If you lower the aperture for a wider depth of field, you’ll need to slow the shutter speed or boost ISO.
Professional photographers learn to adjust these settings instinctively, depending on the subject, lighting, and desired outcome.
Real-World Applications
Let’s say you’re shooting an indoor event like a wedding reception. The lighting is dim, and people are dancing. A pro might choose the following settings:
- ISO: 1600
- Shutter Speed: 1/200
- Aperture: f/2.8
This combo allows for enough light, avoids motion blur, and keeps subjects in focus. In situations like these, photographers often supplement with on-camera flashes or bring in external lighting. Alternatively, for a more interactive element at the reception, a photo booth rental houston can offer a controlled lighting environment for fun, candid shots, ensuring every guest walks away with a high-quality memory.
Tips for Getting Comfortable with Manual Mode
If you’ve been relying on auto mode, switching to manual can feel intimidating. But practice is key.
- Start in Aperture Priority (A or Av mode) to get a feel for how aperture affects your images.
- Experiment with Shutter Priority (S or Tv mode) to understand motion blur and freezing action.
- Gradually move into Manual Mode (M) where you control all three settings.
Use your camera’s light meter as a guide, and take test shots to see how changes affect your exposure.
Conclusion
Understanding ISO, shutter speed, and aperture is the foundation of professional photography. These three settings work together to control light, motion, and depth, giving you creative freedom and technical precision. By learning how to balance the exposure triangle, you’ll unlock your camera’s full potential—whether you’re shooting dreamy portraits, fast-paced action, or managing light for something like a photo booth rental at a lively event. With practice and patience, you’ll soon be shooting like a pro.


